Choosing a model
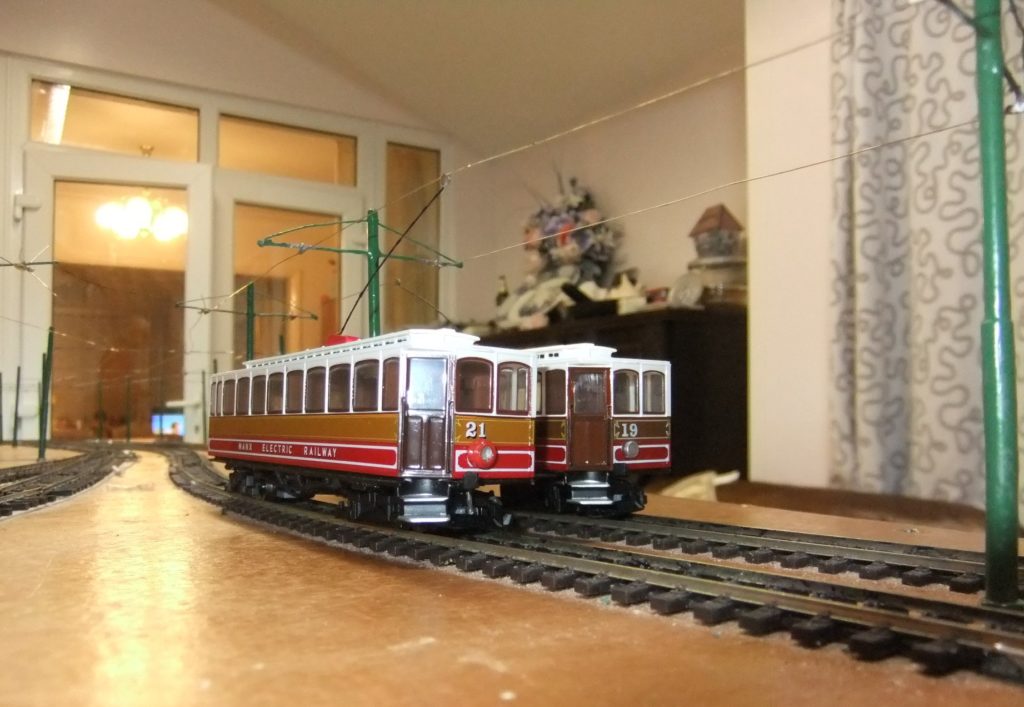
So you’ve chosen a particular scale so now you need to choose what to model. Which model is perhaps the most difficult question! Unfortunately the days of buying a cheap plastic kit to practise on are mostly gone so most modellers start with what is needed.
Is there a specific town or tram you would like? If this is the case then it certainly makes downselecting far easier although often you may still need to decide when to model your town or tram.
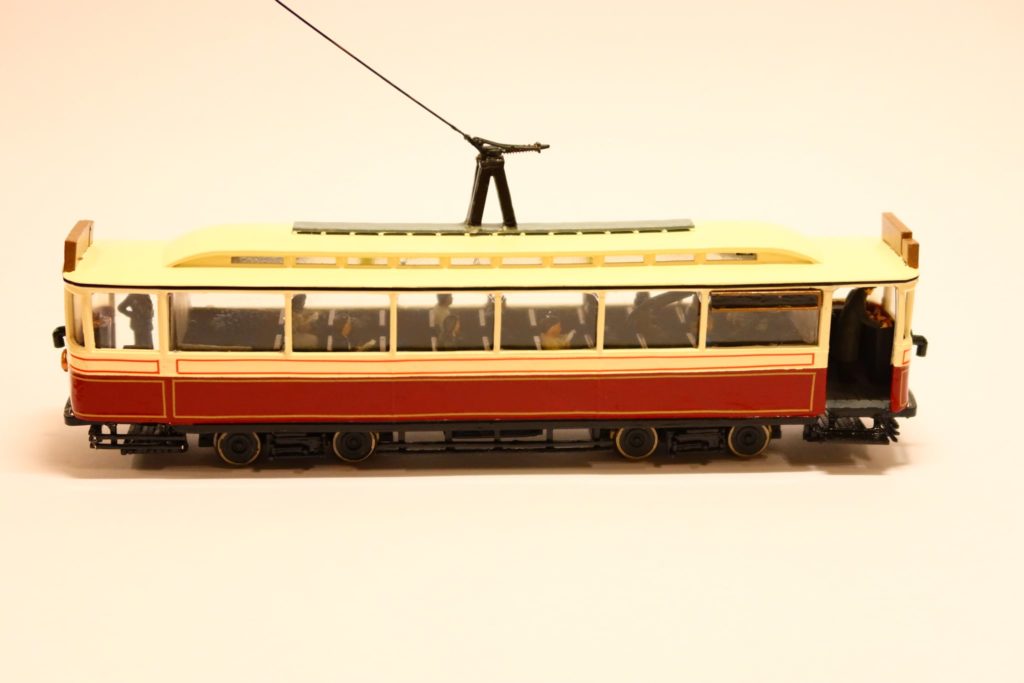
Do you prefer to work with a particular material? There are many available in plastic, resin, cast metal and 3D printed if material is your main consideration.
Are you restricted by size so need a smaller tram? Are you looking for something a bit more ‘generic’ you can add to your railway scene? Will it be the trams you rode as a child? Or regularly visit now?
Whatever the reason, your choice will be personal to you and is likely to be the start of many more!
Motorising
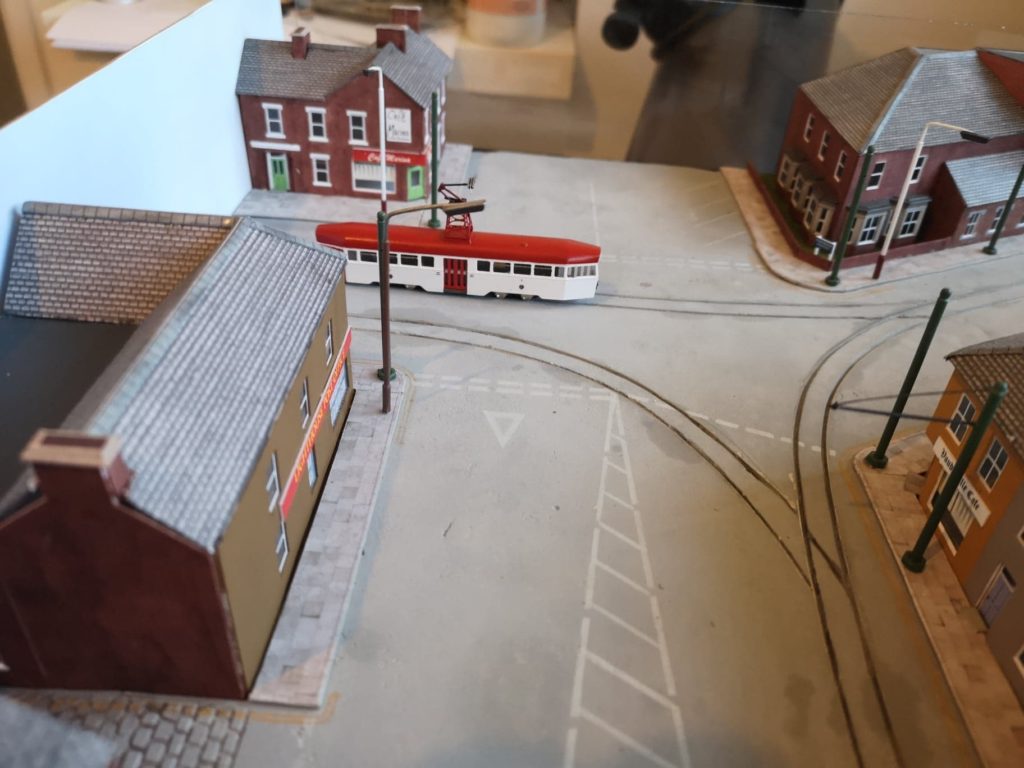
Most trams out there can be motorised easily. Motors range in price from as little as £20 to as much as hundreds, depending on the tram you wish to motorise. Motor units are available in all of the major scales and to fit most models with no or very little modification.
We stock the Halling range of motor units for OO, HO and TT scales. These are are superb quality, powering many of our own models and a large proportion of our customers, many of whom do many hours of running at home and at exhibitions. All of the OO and HO scale CMT tram kits have interiors and chassis that are designed specifically to fit Halling motor units.
Building Track
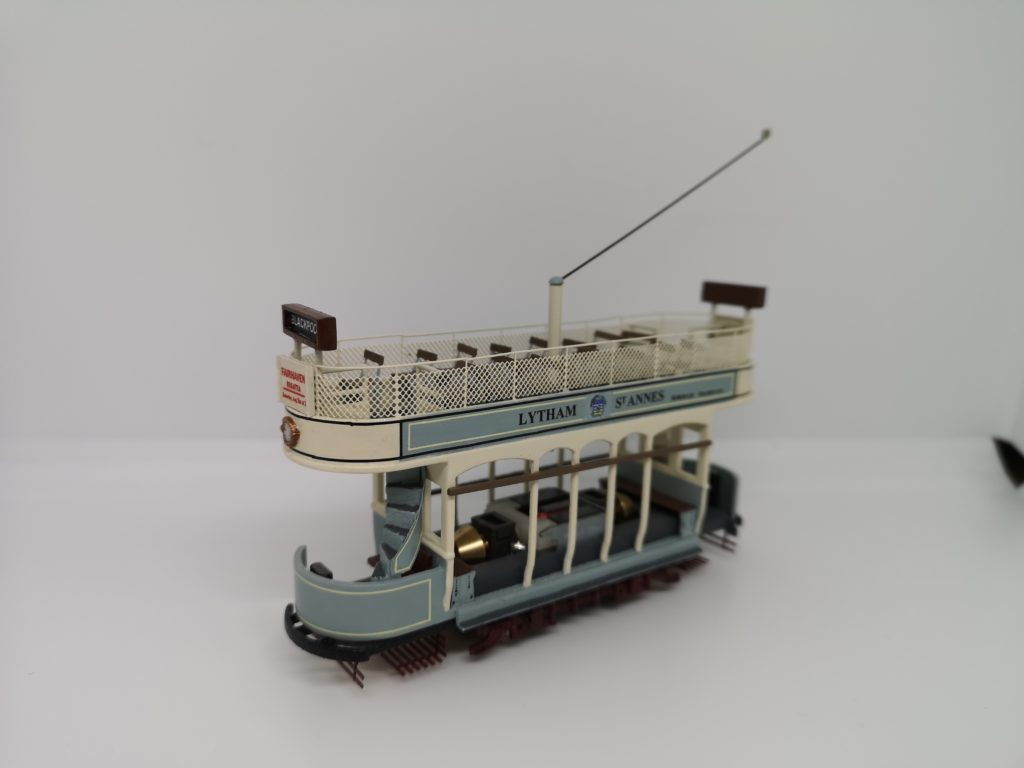
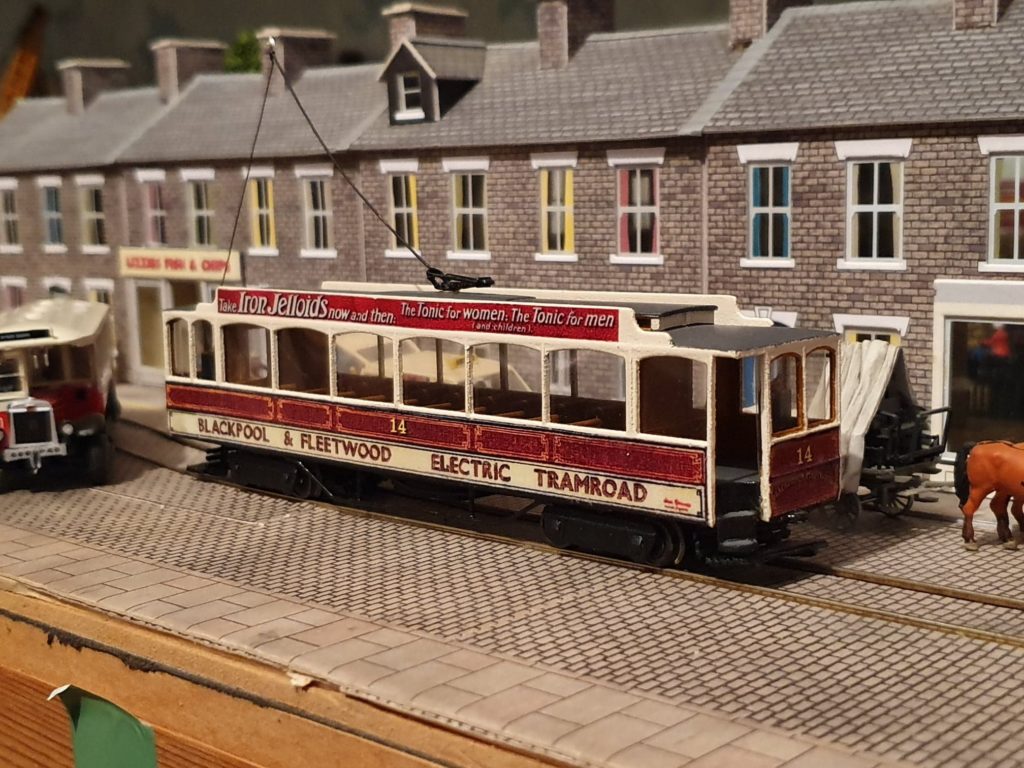
Tram track outside of urban areas tends to be mounted on sleepers in exactly the same way as railway track but tram track buried in the road is what most people see as a key difference between trams and trains. There are many ways to build tram track. Specialist track is available, but is difficult to obtain and very expensive. Most modellers make their own, either by hand building with rail and copper sleepers or simply using ordinary railway track and using an infill. This infill varies depending on personal preference. The most commonly seen on model tramways is flexible track filled around with Metcalfe cobbles which is one of the simplest ways to model tram track. Others use plaster and scribe details such as the track groove and cobblestones, and for modern tarmac using wet and dry paper as the infill produces convincing results.
Building Overhead
The overhead wire is probably the biggest difference between many model railways and model tramways. Although some systems operated other means of power generation, such as underground electric conduit, horse or gas power, the vast majority of tramways after 1900 operated overhead wire supplying the electricity.
Adding overhead need not be onerous, but it certainly adds to the authenticity of the model. Some people don’t put overhead up at all and this is fine – the key thing is to put as much or as little as you wish on your layout (it’s yours to choose after all!). Some layouts use the overhead exactly as the real thing – to supply the power to the model tram – and for others it’s decorative as the power is supplied via the rails like a model railway.
Adding overhead requires masts, wire and fittings to join the wire and add specialist parts to allow trolley poles (the bit that goes from tram to wire) to select the right wire at points, or for other specialist uses. We stock most items you will require for fitting overhead to your tram layout and are always happy to offer advice if you ask us.
